Hi Gang! Over the past two weekends my husband and I have been working on adding a lil’ suminsumin to create a more welcoming and cozy entryway. So for me that means add a little Joanna Gaines to our home and we will be golden. haha.
We have added yet again another shiplap wall, this time to our entryway! You can never go wrong with faux shiplap in my opinion. I wanted something that was going to make our entryway pop and feel so cozy and welcoming but at the same time not be overly in your face. So we went with tongue and groove boards, very affordable and easy to install! I went with the same white paint that I painted my shiplap fireplace. I wanted consistency and something to brighten and bring character to our entryway!
I’ve outlined our tools, and process for this project. I hope this helps inspire and guide you with your own DIY project!
Before I dive into the tutorial I wanted to share some before and after photos✨


I N S T A L L I N G T O N G U E & G R O O V E
MATERIALS:
- 12 ft tongue and groove boards ( you can also use real shiplap, or plywood sheets for nickel and gap)
- brad nailer (rental from Home Depot)
- 1.5″ angled nails
- miter saw (rental from home depot)
- stud finder
- measuring tape
- leveler
- paint
- paint roller & brush
- painters tape
- putty
- white caulking
- molding (if you choose to finish off your project with this)
STEPS:
- Measure out square footage to determine how much wood you will need. Length x Width = Sq Ft. We went with 12ft boards because the length of our wall is so long we wanted to minimize cuts. Home Depot had as short as 8ft boards. We then took the height x board length to give us how many boards we would need. Always buy 2-3 extra boards just in case, you can always return them if you don’t use them.
- Use a stud finder and mark where the studs are in your wall.

- Use your leveler, if you have a way to strike a straight line down your wall marking the studs, this is the easiest and quickest way to do this. If not you can go down the wall with a pencil to mark your studs.
- Once you have everything marked off you are ready to start cutting! Measure out your first board and make your first cut.
- Line your first board on the wall, you can use either side. One side will be more rough for a rustic look, the other side sanded down for a more finished look. Make sure your board fits snug and is level on the wall before you nail it in place. We have done 2 other Faux shiplap walls in our home, some people like to add an adhesive to the back of their boards as well, we have found the boards are light enough and nails alone work great!
- Keep moving up the wall. leveling each board as you go. Also if you are not laying one single board across the whole wall, just make sure your pattern is not consistent. Cut the boards at different lengths so the gaps are in all different places.
- Cut around outlets, windows, or doors. We only needed to cut around an outlet and around our stairs. For outlets and switches, you will need to measure them out. We found just using a chisel and hammer is the easiest way to cut a spot for these in the boards. These pine boards are so soft it isn’t necessary to use oscillating multitool.


FINISHING STEPS:
Once you have made your way up your wall, you will want to putty nail holes, caulk near the edges and trim, add molding if it finishes off the look for you, and last but not least, paint!

Choosing paint was really hard for me. I couldn’t decide between a brown, white, a sage green, gray or going bold with black. In the end, since it is the entryway, I wanted peoples first thought when they come into our home to be warm and inviting with a touch of character – so polar bear white it was! I used 2 coats of paint for this wall.

I am beyond in love with how this project turned out! It adds the perfect little flare to dress up our entryway! I hope this has inspired you for your next DIY project! Let me know if you have any questions or have suggestions for me! I have also linked entryway decor for you all at the bottom.


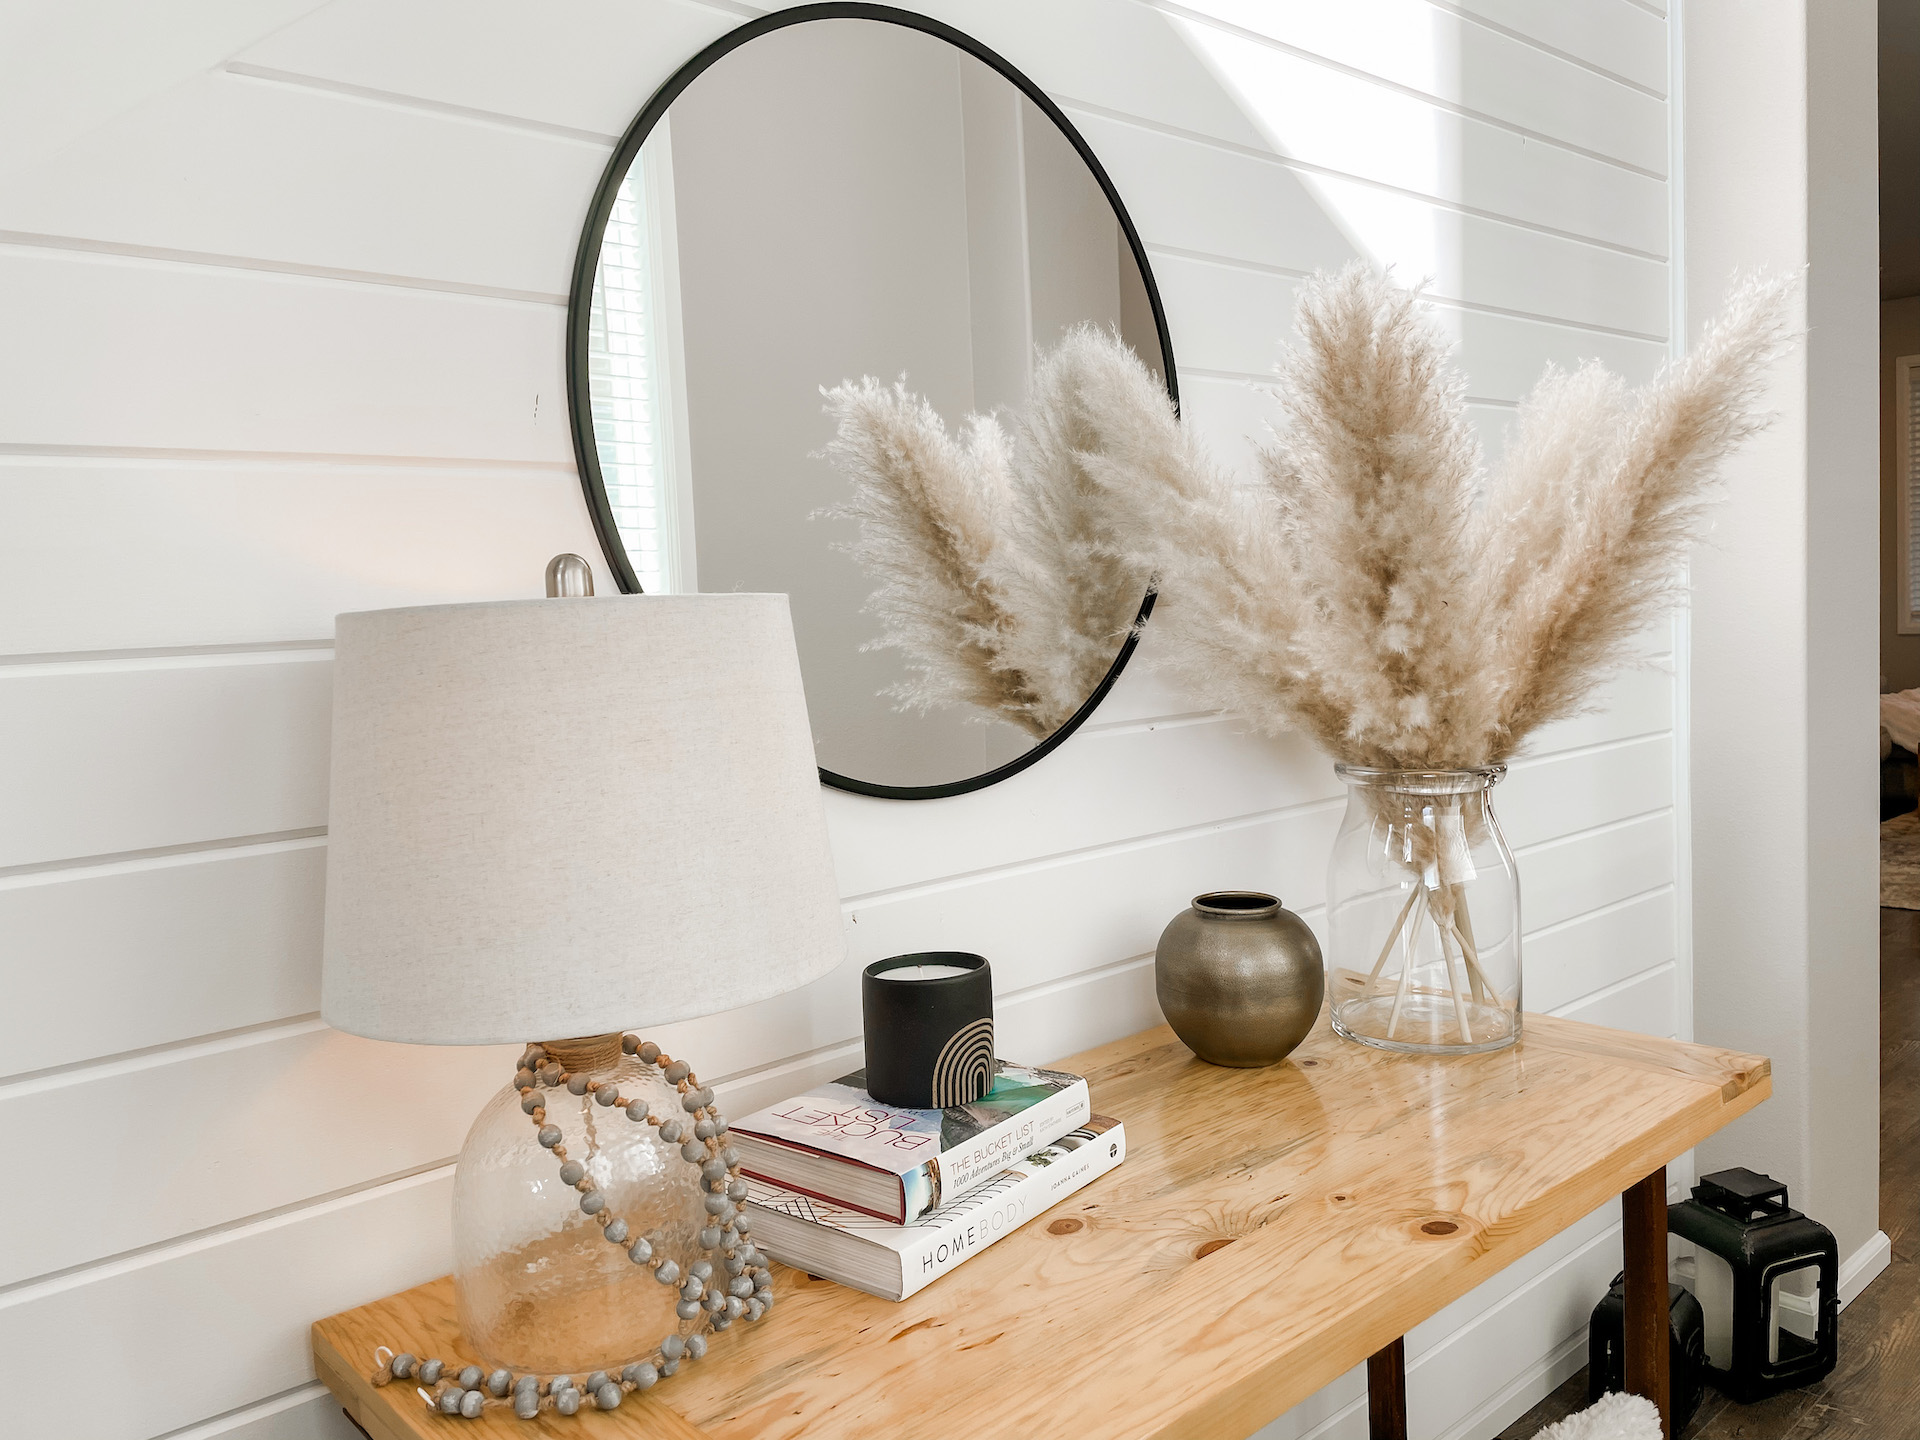
pampas / glass vase / fiddle leaf fig tree / fun modern vases / gold planter / mirror / entryway table option /


