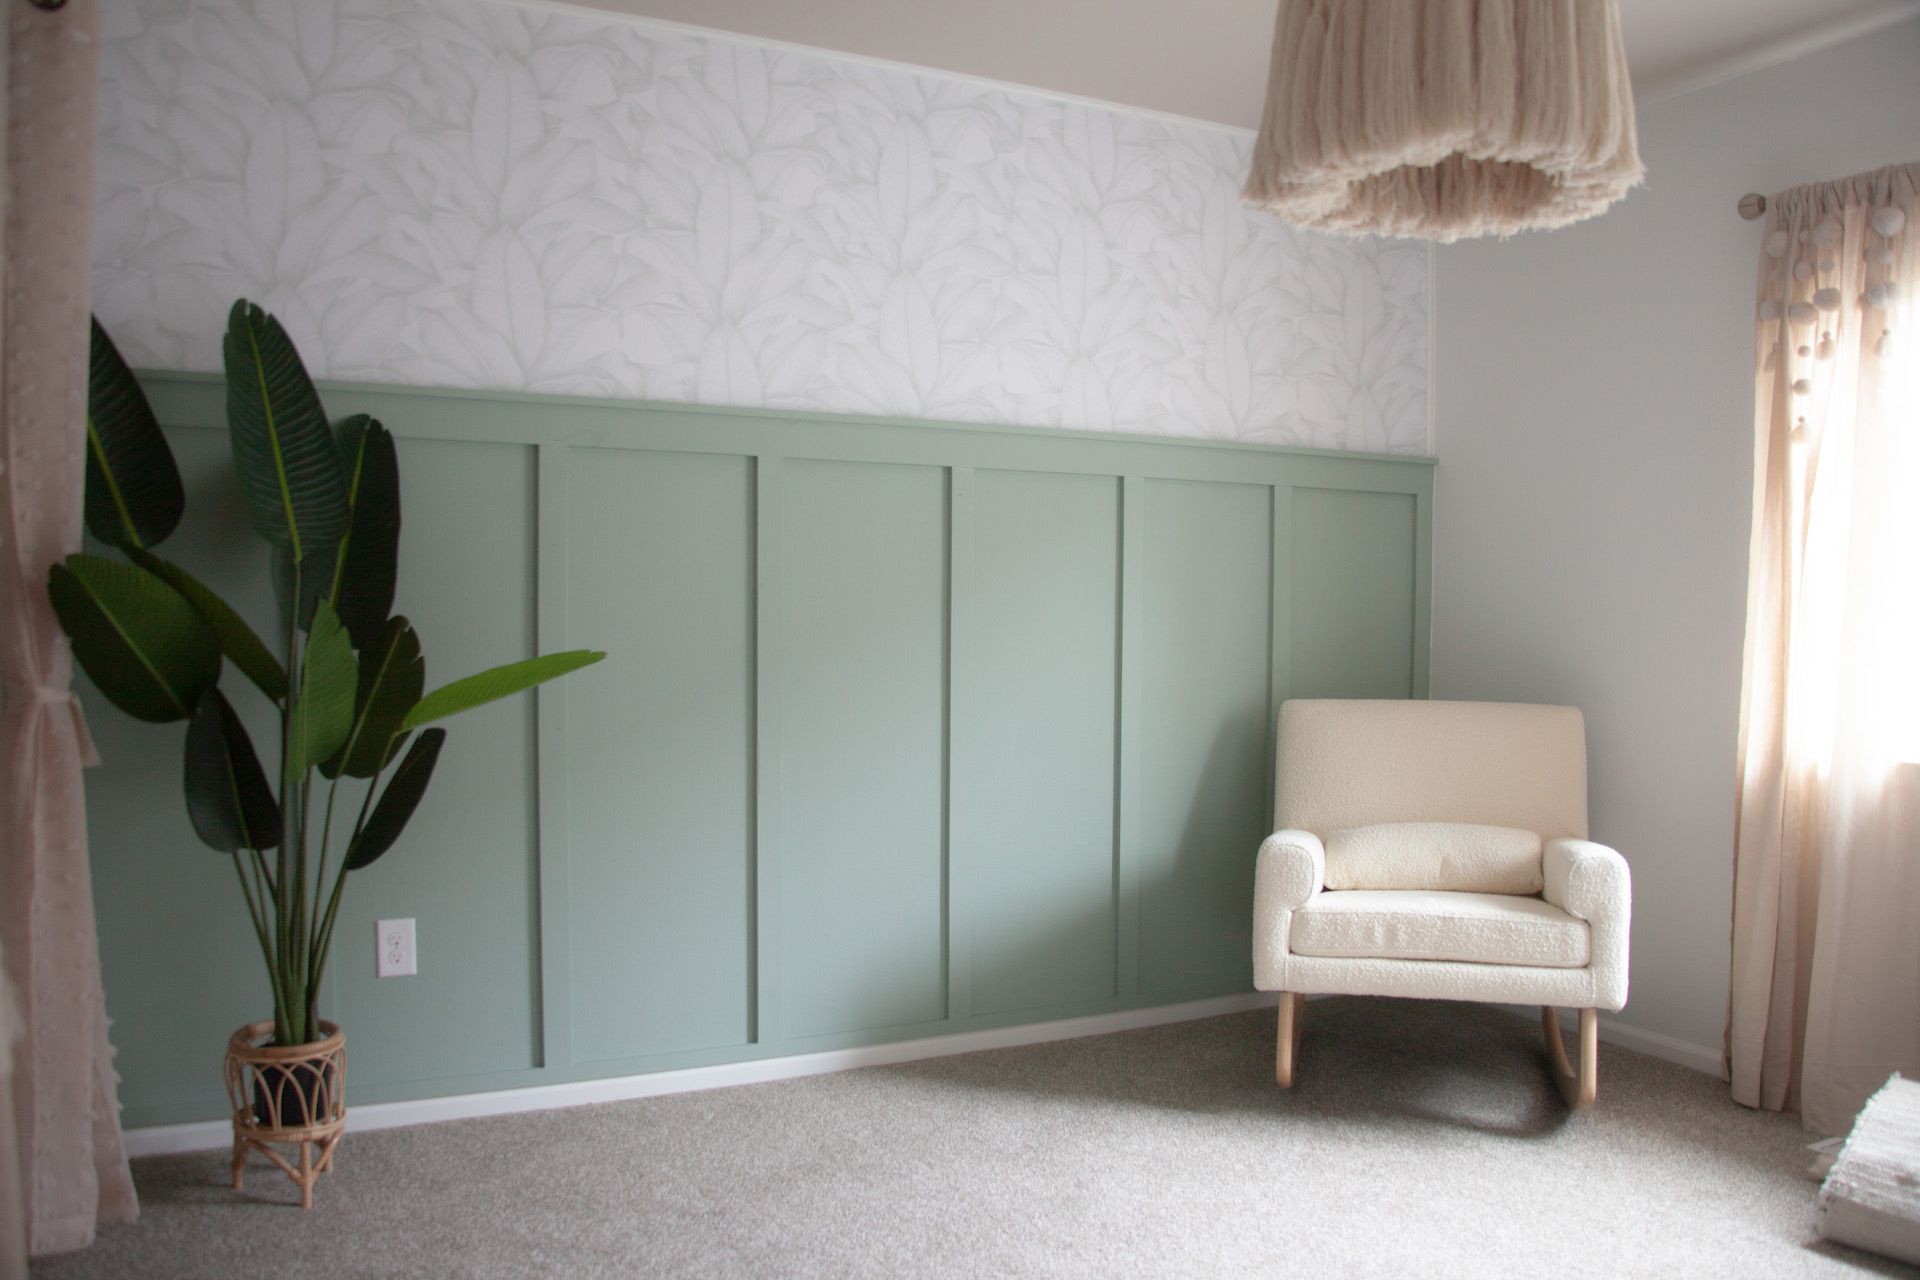
Happy Wednesday Friends! We recently completed the board and batten wall in the nursery for baby girl. It turned out even better than I could have ever dreamed! My husband and I can’t get enough of it, we find ourselves walking in there just to hang out. haha

Our overall goal for her nursery was to create a very warm, relaxing, and happy space for her. With the addition of this wall it does just that. Everything from the wall paper to the color we chose for the board and batten goes perfectly with the relaxing vibe we want to create.
Board and batten is a super simple and affordable way to give instant character and charm to any room, hallway or even bathroom in your home! The best part? You don’t have to do anything to your wall beforehand, like tear out your baseboards! So below I have a simple tutorial for you on how we did this nursery wall. You can apply this to any space in your home!
W A L L P A P E R

I am going to start with talking about our wallpaper just because this was something we wanted above our board and batten to finish off the wall but you can easily paint or leave the paint color you currently have! We got this wall paper from Etsy, its by a shop called Livette’s Wallpaper. This shop is FANTASTIC! We have only wallpapered one other time before so we wanted to make sure our measurements were correct. She responded quickly with all our questions and was very helpful with our oder. Our wallpaper also came very quickly and it is great quality! This was a peel and stick paper, super easy to apply. We put our wallpaper on the wall first just so we didn’t have to worry about it after the board and batten was up. This made our project so much easier! If you are doing wallpaper or if you are painting, I recommend getting it done before you start your board and batten.
S U P P L I E S N E E D E D F O R B O A R D & B A T T E N
- Wood – we used common board from Home Depot
- 12ft 1×2 board for both bottom & top shelf
- 1×3 for vertical boards
- 1×4 for horizontal top board
- Miter saw
- Tape measure
- Level
- Liquid nails
- Nail gun
- Caulk / Caulk gun
- Wood filler & putty knife
- Sanding square
- Paint/brush/roller
S T E P S
- We didn’t want to rip up our baseboards for this project. I also did not want the 1×3 boards to stick over our baseboards, I just felt like it would look thrown up there and not finished. So we added a 1×2 board right above the baseboard to make it look all put together. It would also end up flush with the vertical boards.
- We used a miter saw to cut the 1×2 boards, we attached these with a nail gun right above the baseboards.

- Next we lined up our 1×4 vertical boards where we wanted them. Spacing is up to you and your measurements. Spacing for these boards can be anywhere from 12″ to 16″. There is a site called Letsdiybig.com and they have a board and batten calculator that works great to figure out spacing for your boards if you need some help!
- These 1×4 vertical boards we cut to 4ft. We spaced our boards by 17″ and lined them up on the floor before attaching to make sure spacing looked right.
- Once you have the boards where they will go on the wall we started to attached them one by one using liquid nails, a wood spacer , and our nail gun. We cut two wood spacers, each 17″, to make sure the boards were staying aligned and spaced correctly. We also used the level on each board to make sure they were perfectly straight before nailing to the wall.


- Once you have all your vertical 1×3 boards complete you can attach the 1×4 top horizontal board. Walls are never perfectly straight, therefor when you place your 1×4 top board on, you will most likely have gaps. Be sure to pull the board down as much as you can, nail in place, and then use wood filler later to fill those imperfections.
- Once the 1×4 top board is on, we decided to add another 1×2 board ontop of that! We turned the 1×2 so that it would hang off of the 1×4 a little and create a small shelf. In my opinion this finishes off the look, this is personal preference and could be left off completely.


L A S T S T E P S
At this point all your boards are up and you are pretty excited to get this wall painted and finished! Before you paint there are a couple things to do to make your wall look cohesive and perfect.
- I used wood filler and a putty knife for all the gaps in the wood. I also used the wood filler on all the nail holes. Doing this step will give your wall a seamless look. Wood filler dried fairly quickly, once it does you can sand it down. I just used a small sander brick, no need to break out your heavy duty sander for this part.
- I then used caulk on each space where the board met the wall. Once again so the board looks seamless against the wall when painted.
- After everything was sanded, wiped down, and. cleaned up, I taped off the board and batten and was ready to paint. I recommend using a small roller in the spaces between the boards but a regular paint brush to cut into all the corners.
- For our paint we sampled 4 different colors on the wall. This is also a personal recommendation, for me it allows me to be 100 percent sure and confident in my choice! I went with a color called Green Balsam by Behr. I LOVE this color! This paint, in my opinion, is the perfect green for a nursery, it makes the wall paper pop and is still on the girly side. I got it in a matte finish, we aren’t big on any kind of sheen on our walls.


Once your paint is dry and all finished, remove the tape and stand back to look at your amazing wall! It really does make a world of a difference in your space! This board and batten wall would look so good sprucing up a boring hallway, you could get fun with it and do a different pattern, the possibilities are endless!


I hope this has helped you with your project or has inspired you to give board and batten a try! Thanks for stopping by!


